
Home Insurance Claim Process Demystified
A home disaster strikes without warning, and suddenly you’re facing decisions that feel overwhelming. The home insurance claim process doesn’t have to be confusing-we at North Point Insurance Group have guided thousands of homeowners through it successfully.
This guide walks you through each stage, from documenting damage to receiving your settlement. You’ll know exactly what to expect and how to protect your interests every step of the way.
First Steps After Disaster Strikes
Document the Damage Thoroughly
The first few hours after a home disaster are critical. Your immediate actions directly influence how smoothly your claim moves forward and how much documentation you’ll have to support your settlement. Take comprehensive photos and videos of all damage before you touch anything or start cleanup. Photograph wide shots of each room, close-ups of specific damage, and any visible water lines, structural issues, or affected belongings. Video walkthroughs work well too-they establish a timeline and show the full scope of destruction. Keep your phone charged and back up these files to cloud storage immediately; phone loss or damage could erase your evidence.
Report Your Claim Immediately
Contact your insurance agent without delay. Most insurers have 24/7 claims lines, and reporting quickly prevents unnecessary delays. Have your policy number ready and provide a clear description of what happened, when it happened, and what areas of your home were affected. The CFPB notes that the claims process requires coordination among the homeowner, insurer, and mortgage servicer, so early communication keeps everyone aligned.
Prevent Additional Damage
While you wait for your adjuster, take reasonable steps to prevent additional damage-this is called mitigation. If you have a roof hole, use tarps to cover it. If water leaks, place buckets underneath and turn off water at the main if flooding occurs. Save all receipts for these temporary fixes; your insurer typically covers mitigation costs. Do not attempt major repairs or cleanup beyond basic prevention, as this could complicate your claim. Stay out of structurally unsafe areas until emergency personnel clear your home.
Prepare for the Adjuster’s Visit
Once your adjuster receives assignment and scheduling confirmation, gather documentation before the inspection: receipts for major items, photos of your home before the disaster (if you have them), and a detailed list of damaged belongings. The more organized you are, the faster the assessment moves. Your adjuster works for the insurer, not for you, so your documented file becomes your best advocate for a fair settlement. This preparation sets the stage for the next critical phase-understanding how adjusters evaluate your loss and what happens during the property inspection itself.
Working with Your Adjuster and Submitting Documentation
Submit Your Claim and Get Assigned an Adjuster
Your claim submission officially begins when you contact your insurer with the details you’ve gathered. Provide your policy number, the date and time of the loss, a description of what happened, and the areas affected. The insurer will assign a claim number and schedule your adjuster visit within days, depending on damage severity and local demand. Some insurers process straightforward claims faster-water damage from a burst pipe typically moves quicker than structural damage from a storm. Have your documentation organized before the adjuster arrives: photos, videos, receipts for damaged items, and that list of belongings. The adjuster will use this information alongside their own inspection to estimate repair costs and determine your payout amount.
Understand Your Adjuster’s Role and Limitations
Your adjuster works for the insurance company, not for you. This distinction matters enormously. The adjuster assesses damage against your policy terms and determines what is covered-they do not advocate on your behalf. Your documented file serves as your strongest voice in the process. Many homeowners mistakenly believe the adjuster will side with them; instead, the adjuster’s job is to evaluate the loss objectively and fairly within policy limits. This is why your preparation matters so much.
Prepare for and Participate in the Property Inspection
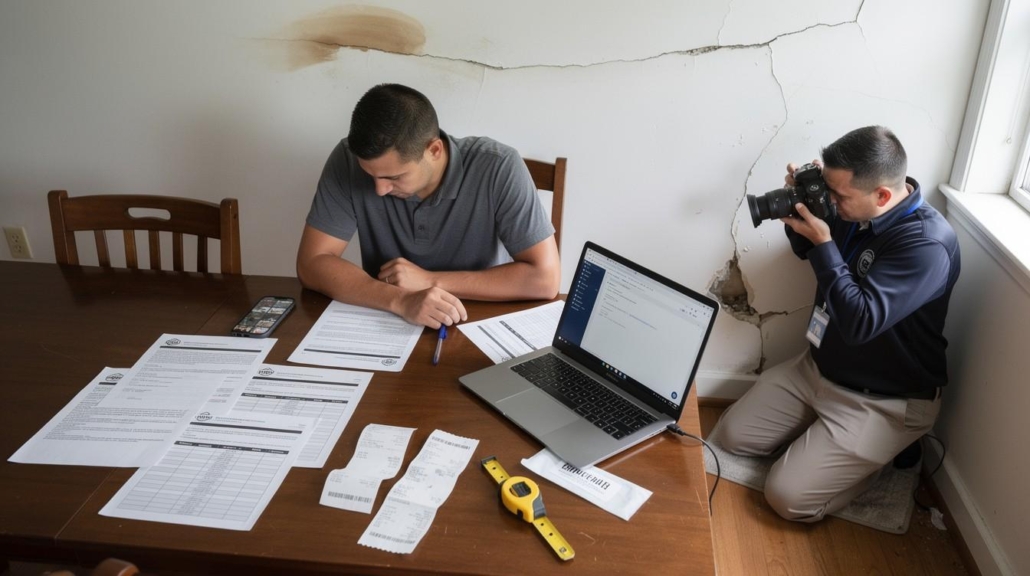
The inspection itself typically takes one to three hours for moderate damage and longer for extensive loss. The adjuster will photograph damage, measure affected areas, note building materials and construction quality, and ask detailed questions about what happened and what was damaged. Answer honestly and completely-inconsistencies between your account and the physical evidence can delay settlement or reduce your payout. Bring receipts, warranties, and proof of purchase for high-value items like appliances or electronics; these support your claim value.
Challenge the Assessment If Numbers Don’t Match
If you disagree with the adjuster’s assessment after they present their findings, you have options. Request a detailed written explanation of their damage estimate and coverage determination. If the numbers still don’t align with your own estimates, you can obtain an independent estimate from a contractor or public adjuster and submit it for reconsideration. The insurer must respond to your dispute within a reasonable timeframe. Some policies include appraisal clauses that allow either the carrier or the policyholder to make a written demand for an appraisal if the parties cannot agree on the loss amount; the appraiser’s decision is binding.
Keep Communication Flowing to Speed Disbursement
Coordination between you, your adjuster, and your mortgage servicer-if you have a mortgage-keeps the process moving. The servicer typically releases initial funds before work begins so you can hire contractors, then disburses additional money as work progresses and passes inspection. Maintaining open communication with your claim representative speeds this disbursement cycle significantly. Once the adjuster completes their assessment and you’ve resolved any disputes, the focus shifts to understanding your settlement options and how replacement cost versus actual cash value affects what you receive.
What Happens When Your Claim Settles
Your adjuster’s report arrives, and now you face the reality of what your policy actually covers. This is where many homeowners discover gaps between what they expected and what their settlement actually provides. The adjuster’s estimate breaks down into two critical numbers: replacement cost and actual cash value. Replacement cost covers rebuilding or repairing your home with similar materials and quality at today’s prices. Actual cash value accounts for depreciation based on your home’s age and condition. The difference between these two can be substantial.
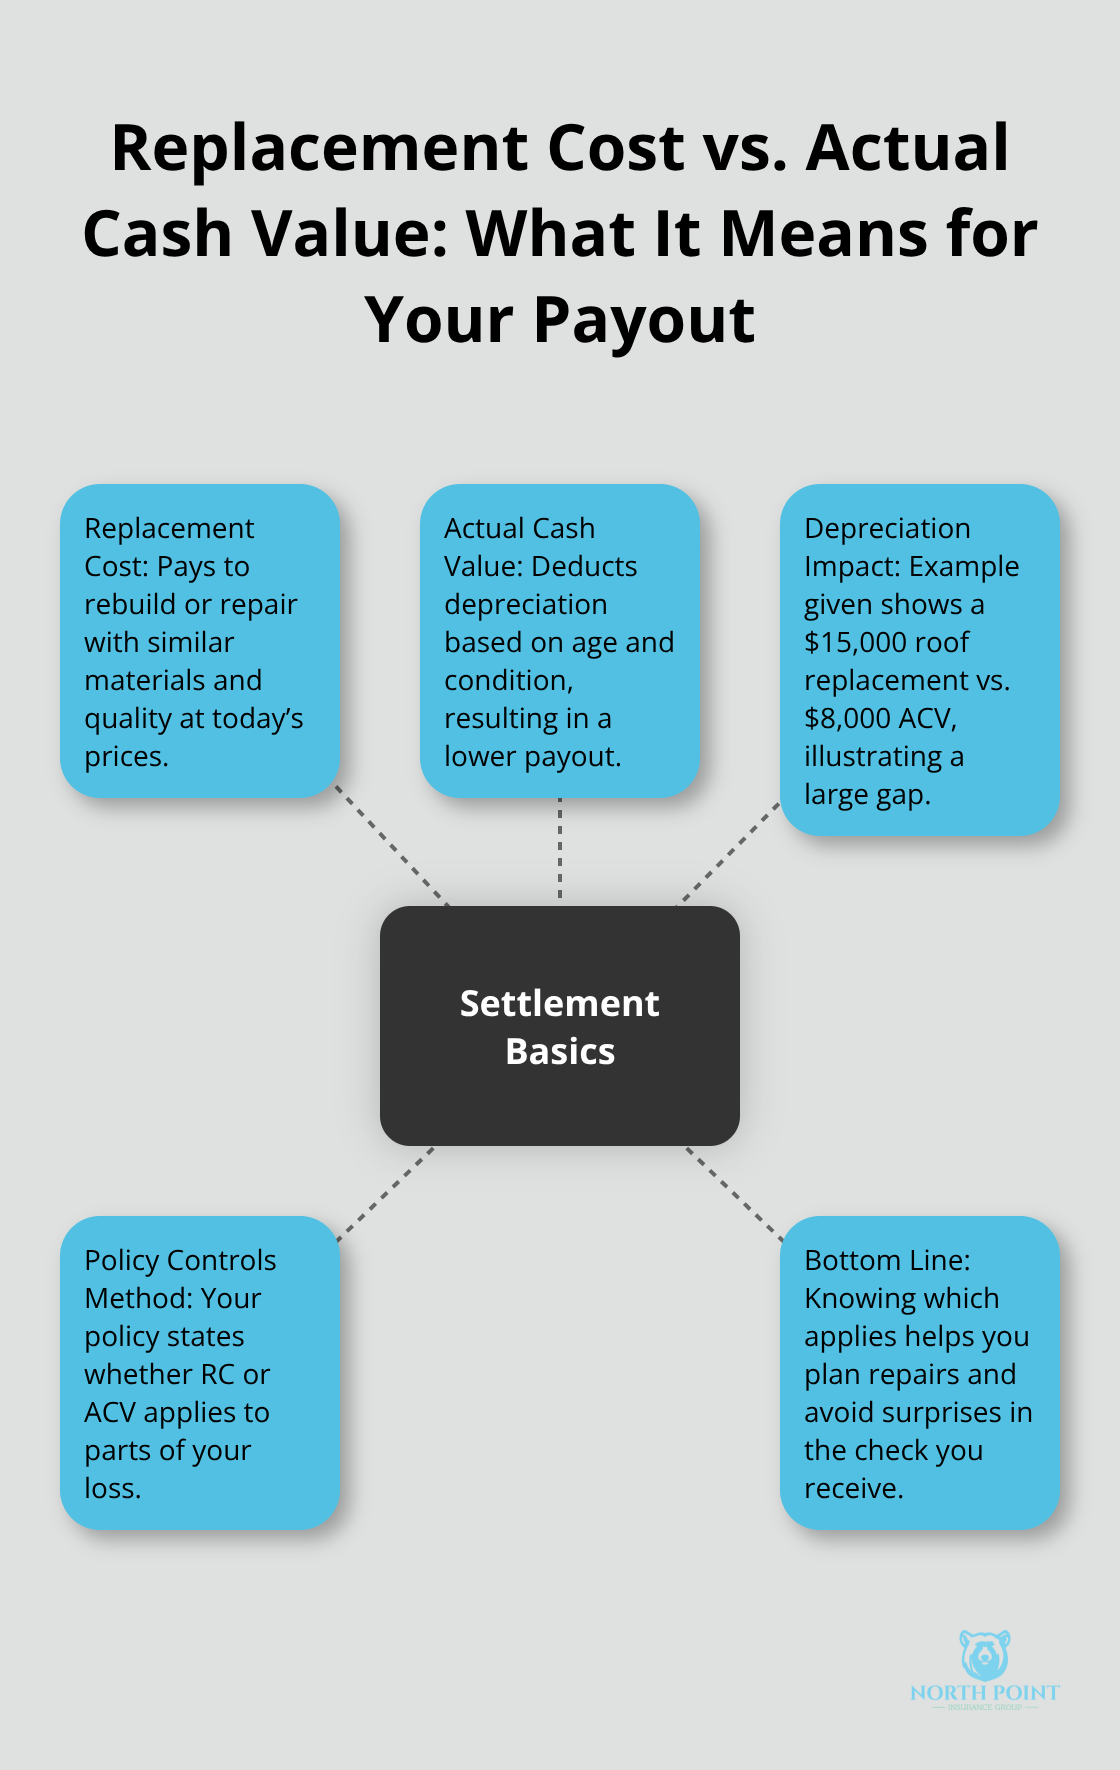
If your roof is fifteen years old and needs replacement, replacement cost might be $15,000 while actual cash value could be $8,000. Your policy determines which method applies, and this directly affects what you receive.
Review Your Settlement Estimate Line by Line
Examine your adjuster’s report carefully. Does the estimate match contractor quotes you’ve obtained? Are high-value items like appliances or fixtures listed at reasonable values? Request a detailed written breakdown if anything seems off. Many homeowners accept the first offer without questioning it, but your settlement is negotiable if the numbers don’t reflect fair market value or current repair costs. Take time to compare the adjuster’s figures against what local contractors actually charge for similar work in your area.
Obtain Independent Estimates and Challenge Disagreements
If you disagree with the adjuster’s assessment, obtain independent estimates from licensed contractors in your area. Get at least two quotes for major repairs and compare them to the adjuster’s figures. If your estimates are significantly higher, submit them formally to your insurer with a written request for reconsideration. Some policies include appraisal clauses that allow either party to demand an appraisal if disagreement exists; an independent appraiser’s decision becomes binding on both sides. This process takes additional time but protects you from accepting an inadequate settlement.
Understand How Your Mortgage Affects Payment Structure
Once your claim receives approval, the payout structure depends on whether you have a mortgage. If you do, the settlement check is made payable to both you and your lender to protect their interest. Your lender typically releases initial funds before work begins so you can hire contractors, then disburses additional money as work progresses and passes inspection. This staged disbursement protects against contractor abandonment and ensures funds go toward repairs. If you lack a mortgage, you receive the settlement directly and control how and when repairs happen.
Manage Receipts and Contractor Communication
Either way, save all receipts for work completed and materials purchased. Your contractor may request final payment only after your lender approves the finished work, so communication with your servicer prevents payment delays that could halt repairs. Staying organized throughout this phase keeps the reconstruction process moving forward without unnecessary interruptions.
Final Thoughts
The home insurance claim process moves faster when you stay organized and informed from the first moment after disaster strikes. Your immediate actions-documenting damage, reporting quickly, and preventing further loss-set the tone for everything that follows. Understanding your adjuster’s role, preparing thoroughly for inspections, and reviewing settlement figures carefully protect you from accepting inadequate payouts. The difference between replacement cost and actual cash value can mean thousands of dollars in your pocket or out of it, so knowing which applies to your policy matters enormously.
Most homeowners navigate this process successfully when they approach it with clear expectations and solid documentation. You now understand what happens at each stage, what to expect from your adjuster, and how to challenge assessments that don’t reflect fair market value. This knowledge transforms the home insurance claim process from something overwhelming into something manageable.
We at North Point Insurance Group work with homeowners before disaster strikes to ensure your coverage matches your actual replacement costs and protects your interests fully. Our local agents in Alpharetta, Georgia shop across 20+ carriers to find policies tailored to your home’s specific risks and your financial situation. Visit northpointig.com to discuss your home insurance needs with an agent who understands your community and your home’s unique risks.
The information provided in this blog is for general informational purposes only and does not constitute legal, financial, or insurance advice. Coverage options, terms, and availability may vary. Please consult with a licensed professional for advice specific to your situation. Artificial intelligence may have been used to generate text and images in some blog articles and may contain inacuracies.

